Mi Experiencia Con El Curso De Arduino Aprende A Programar Desde Cero


![Iniciación a Arduino [1/9]: Introducción a Arduino - ManuSoft.es](https://calendar.de.com/img/3zJs3hSv-arduino-nano-led-pinout.png)


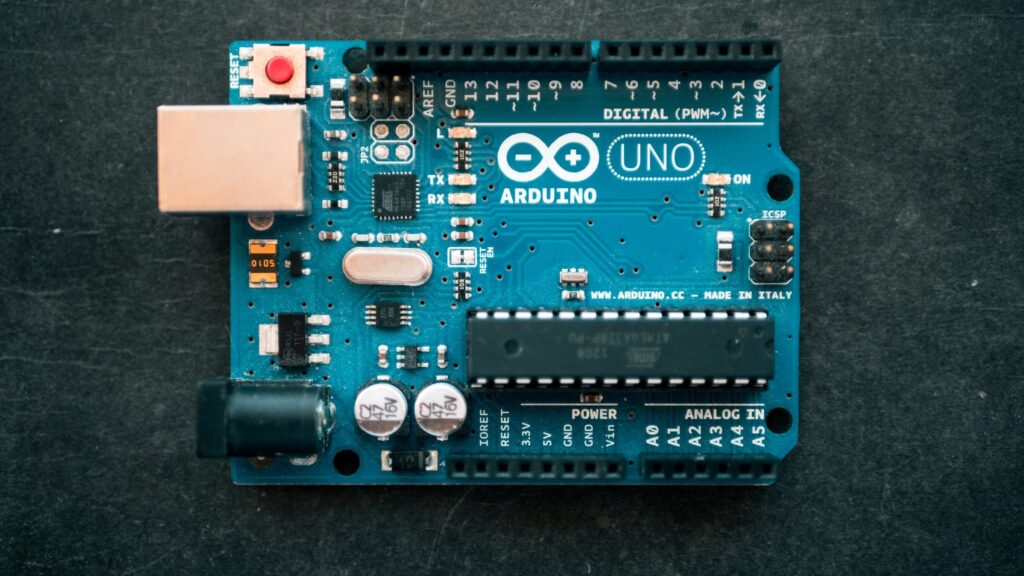
About Arduino Nano
The classic Nano is the oldest member of the Arduino Nano family boards. It is similar to the Arduino Duemilanove but made for the use of a breadboard and has no dedicated power jack. Successors of the classic Nano are for example the Nano 33 IoT featuring a WiFi module or the Nano 33 BLE Sense featuring Bluetooth Low Energy and several
Using Arduino, Light emitting diodes LED's are handy. For that, connect a wire to digital pin 13 on the Arduino board, GND wire and VIN pin a voltage of 5v-9v. We get a constant or blinking LED flushing as we need. Things we will need 1 Arduino Nano A breadboard. 2 A LED I used 3V at 20mA led 3 A resistor 330 ohm
Learn how to control LED using Arduino Nano, how to program Arduino Nano to blink LED. The detail instruction, code, wiring diagram, video tutorial, line-by-line code explanation are provided to help you quickly get started with Arduino Nano. The LED Pinout. LED has two pins The Cathode- pin should be connected to the negative of power
Arduino Nano Pinout. The Arduino Nano, as the name suggests is a compact, complete and bread-board friendly microcontroller board. The Nano board weighs around 7 grams with dimensions of 4.5 cms to 1.8 cms L to B. This article discusses about the technical specs most importantly the pinout and functions of each and every pin in the Arduino
Regarding the pin, I will discuss about them in the Arduino Nano Pinout Section. There is an on-board LED connected to digital IO pin 13. Use this LED to perform Blinky operations. The reference voltage for the internal ADC is by default set to 5V. But using the AREF pin, you can manually set the upper limit of the ADC.
Arduino Nano Pinout Configuration. Pin Category. Pin Name. Details. Power. Vin, 3.3V, 5V, GND. Vin Input voltage to Arduino when using an external power source 6-12V. To get it started with Arduino Uno board and blink the built-in LED, load the example code by selecting FilesgtExamplesgtBasicsgtBlink. Once the example code also shown below
Arduino Nano LEDs. The Arduino Nano has 4 LEDs TX LED, RX LED, Power, and LED_BUILTIN. Arduino Nano Every pinout. The pinout of the Arduino Nano Every can be found in the diagram below. Note that the Arduino Nano Every is almost 100 pin-compatible with the original Arduino Nano and it also runs on 5 V. The important differences are
With its unrivaled capabilities, the Arduino Nano LED Pinout offers an unparalleled experience for those seeking to explore the boundless possibilities of electronics. This microcontroller, adorned with a multitude of pins, serves as the fundamental interface between a programmer and an electronic circuit. From communication and data transfer
Mini USB The Mini USB is smaller than the standard USB but thicker than the micro USB. The Nano board is powered through this port. It also allows us to connect the board to the computer for programming purposes. Vin It is the modulated DC supply voltage, which is used to regulate the ICs used in the connection.It is also called the primary voltage for ICs present on the Arduino board.
Arduino Nano Pinout. The Arduino Nano is indeed small in size but is packed with all the features of a regular microcontroller and can also be connected to the breadboard. The Nano board proposed herein is approximately 7 grams in weight and 4. 5 cm by 1. 8 cm length by breadth Eight centimeters, in length by breadth from the size of the box.