Arduino Uno R3 Gpio Pins


About Arduino Uno
At the top of our Arduino sketch, we need two global variables - one for holding the data coming from Processing, and another to tell Arduino which pin our LED is hooked up to. languagecpp char val Data received from the serial port int ledPin 13 Set the pin to digital IO 13
Arduino will set up the serial communication port to operate 9600bps. Read the incoming data from the Processing GUI app over the serial port and toggle the onboard LED each time a character is received. The Arduino will increment the received character by 1 and send back the new character to the processing GUI application over the serial port.
In EDUvision Season 4 Episode 02 we demonstrated a project that utilizes an Arduino UNO R3 and a phototransistor. The data from the phototransistor is parsed and sent to Processing. Processing is an open source integrated development environment IDE like the Arduino IDE and is used by designers and artists alike! With Processing, you can
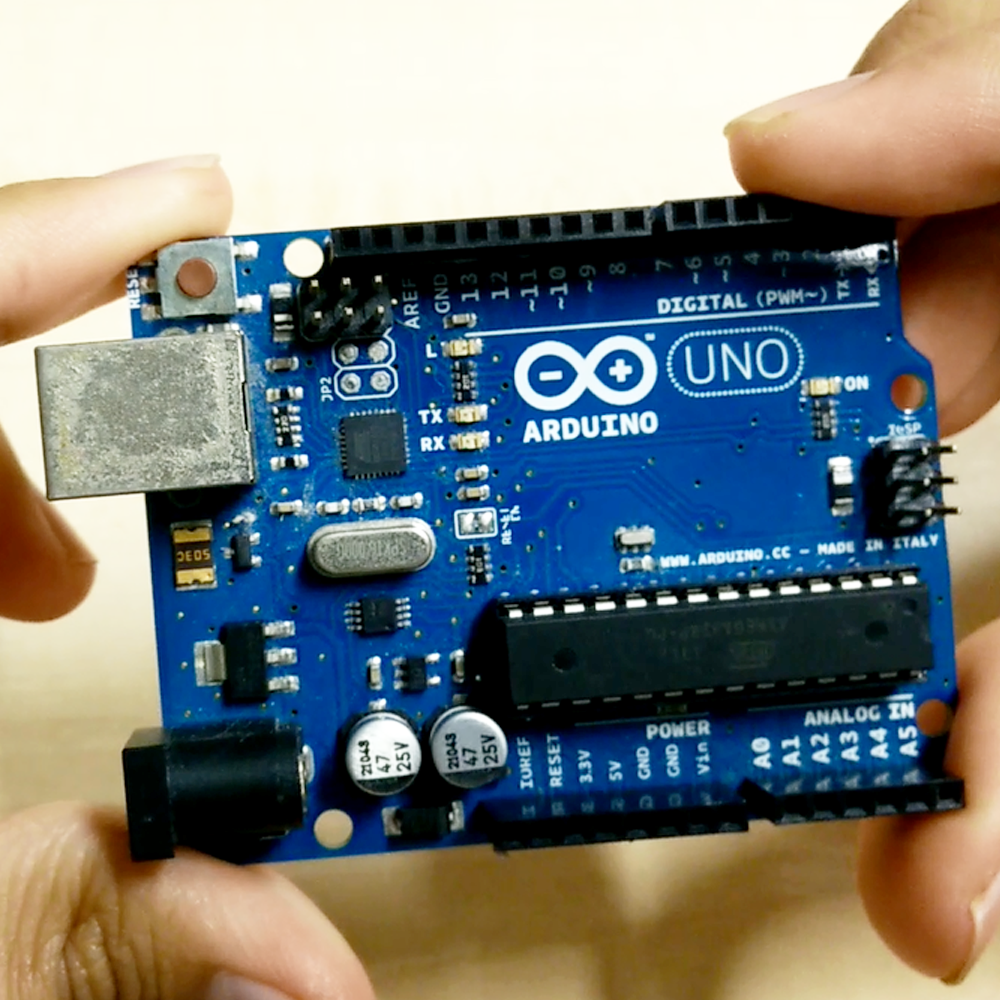
Arduino UNO is a microcontroller board based on the ATmega328P. It has 14 digital inputoutput pins of which 6 can be used as PWM outputs, 6 analog inputs, a 16 MHz ceramic resonator, a USB connection, a power jack, an ICSP header and a reset button. It contains everything needed to support the microcontroller simply connect it to a computer
This will allow you to also compute any other part of the program between 2 steps of the process. A code example Schematics. Here I'll show you a real example using an Arduino Uno board. Here's the schematics On this circuit we have 4 LEDs connected to 4 digital pins as output. Resistors are 220 Ohm.
Hey, thanks! Well first of all the PORT should match with the PORT your Arduino is connected to the PCB. You can first check whether the serial communication works by checking whether you get or receiver data on the Arduino Serial Monitor. If that's ok, that means the same port should be in the Processing IDE code.
Upload the PhysicalPixel sketch to the target Arduino Uno or MEGA 2560. Copy and Paste the Processing Language Sketch Code. In the Arduino IDE, scroll down the PhysicalPixel example code. Below the PhysicalPixel code is a comment block that starts as follows. Processing code for this example
Understanding the Power of Arduino Uno Development. The Arduino Uno stands as a versatile microcontroller board that opens doors to endless possibilities in electronics and automation. Its robust ATmega328P microcontroller and user-friendly architecture make it perfect for both beginners and experienced developers.
All code in Arduino sketch is going to process from top to bottom These sketches are usually broken in 10 parts SHIELDS COMPATIBILITY of ARDUINO UNO. In order to make our Arduino UNO perform a special function, we will use shields an expensive adaptor plugged over top of the board. A countless number of Arduino shields are available.
Actually, the default implementation of timers in the Arduino library makes the micros function have about 4 microsecond precision. However, if you set up a timer yourself, you can make the precision be almost as good as you want it. On a ATMEGA 328 Uno, and friends, you can use Timer2 for this.