How To Set Up ESP32 In Arduino IDE Arduino Esp32 Setup


About Installing Esp32
There's an add-on for the Arduino IDE that allows you to program the ESP32 using the Arduino IDE and its programming language. In this tutorial we'll show you how to install the ESP32 board in Arduino IDE whether you're using Windows, Mac OS X or Linux. Using Arduino 2.0? Follow this tutorial instead Installing ESP32 Board in Arduino IDE 2.0
To install Arduino-ESP32 support, you can use one of the following options. Note Users in China might have troubles with connection and download speeds using GitHub.
In this tutorial we'll show you how to install the ESP32 board in Arduino IDE whether you're using Windows, Mac OS X or Linux. Step 1 Prerequisites Arduino IDE Installed. Before starting this installation procedure, make sure you have the latest version of the Arduino IDE installed in your computer. If you don't, uninstall it and
Install ESP32 Boards in Arduino IDE 2.0 In Arduino IDE 2.0, the process for setting up ESP32 boards has been streamlined, and you no longer need to manually provide the ESP32 Boards Manager URL in most cases. However, if the ESP32 boards are not listed under the Boards Manager, you can still manually add the URL.
Before installing ESP32 package in Arduino IDE, it's crucial to ensure that you have the latest version of Arduino IDE. ESP32 has been known to have compatibility issues with previous versions of Arduino IDE. Therefore, we recommend deleting any old versions and installing the latest ones to avoid any potential problems.
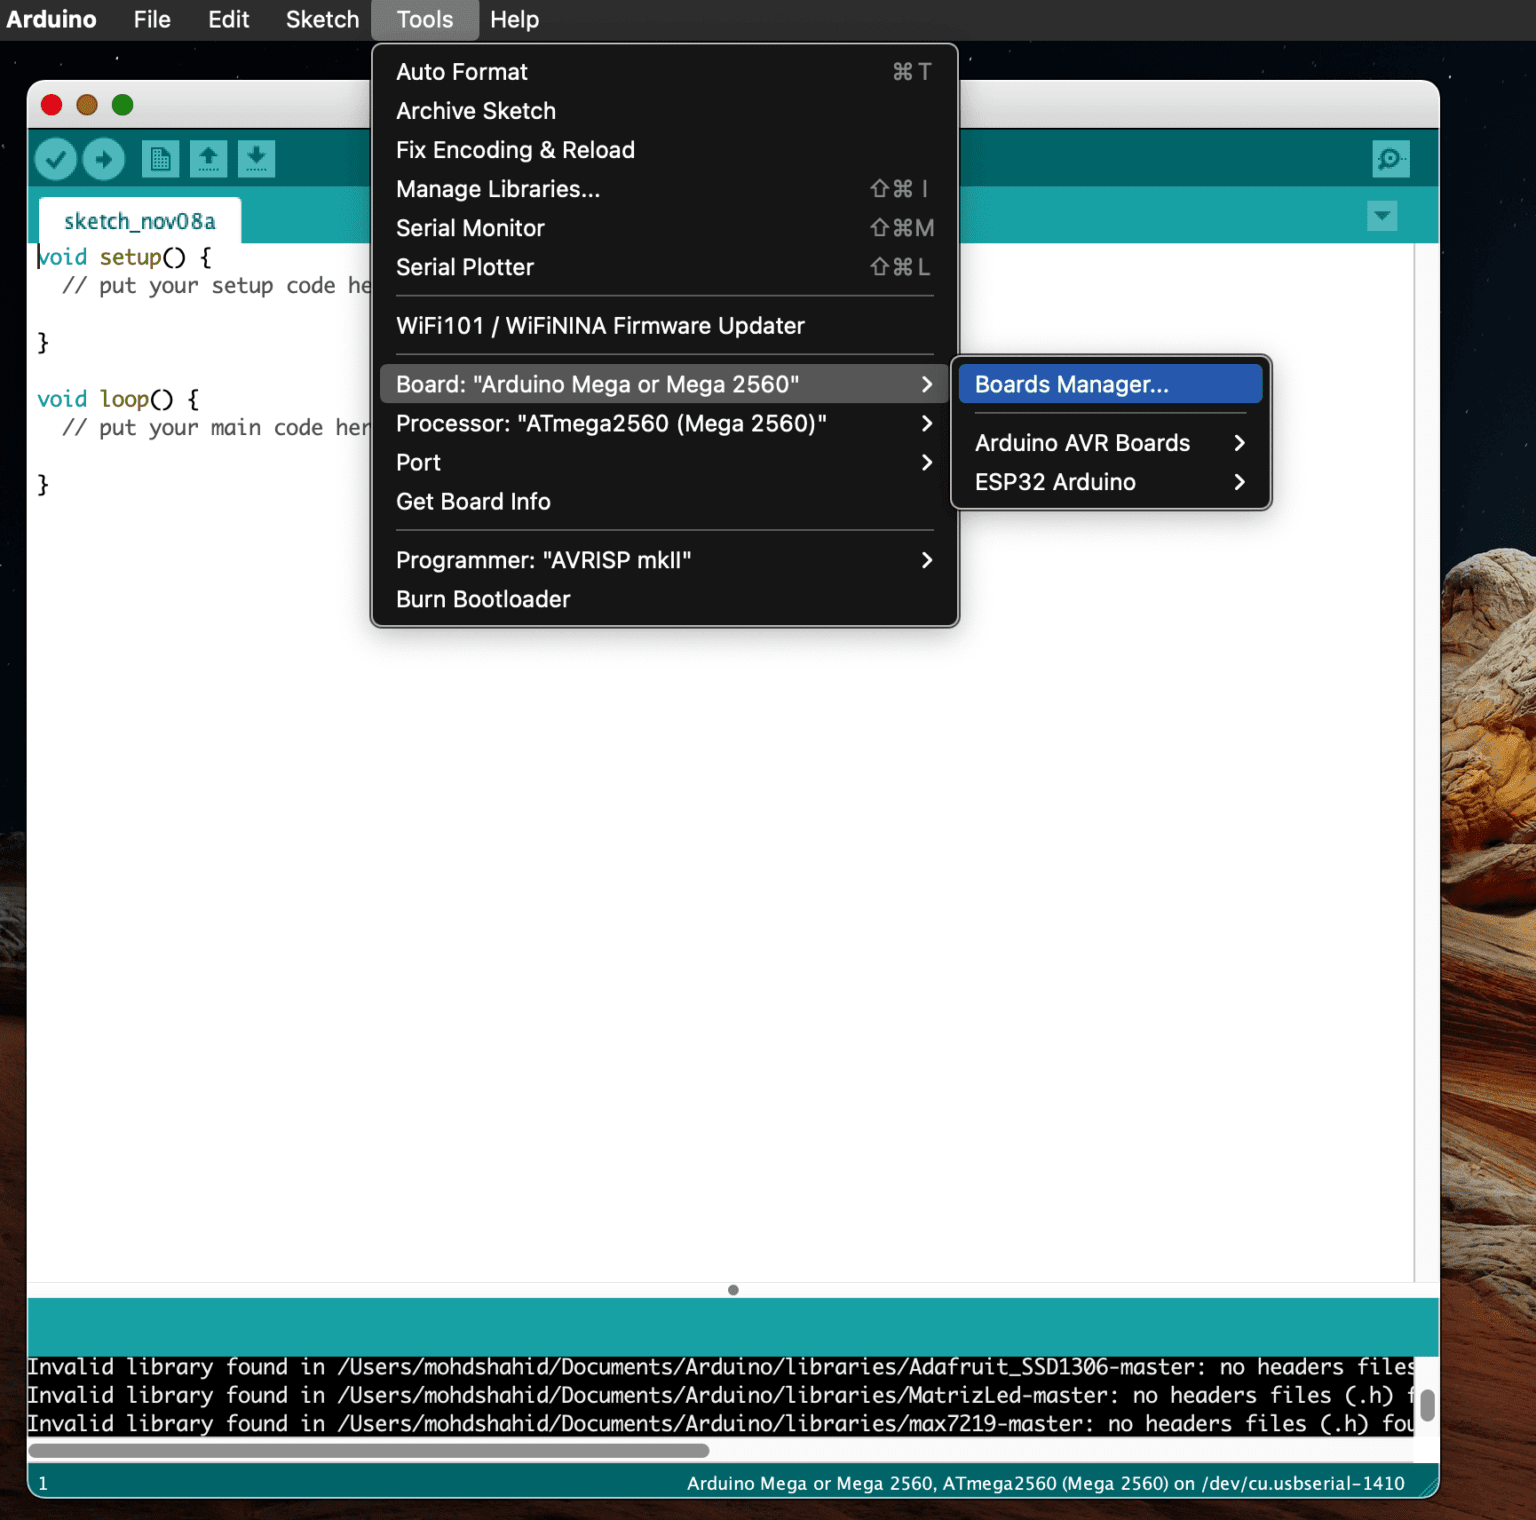
3 Install ESP32 Boards. After adding the boards manager index URL, we need to install the actual boards manager in the corresponding menu in the Arduino IDE. If you use version 2 of the Arduino IDE, click on the board icon on the left and search for esp32. Then, install the quotesp32 by Espressif Systemsquot boards manager.
Visit Arduino Website and get the latest version of the IDE, and install it on your computer. It's a very easy quotnext-next-finishquot kind of installation process. After having installed the Arduino IDE, open it, and let's move to the next step. Which is to install the ESP32 Arduino Core using the board manager tool as shown next.
This guide covers how to install ESP32 and ESP8266 boards in Arduino IDE, making your development process smooth and efficient. The ESP32 and ESP8266 boards are powerful microcontrollers ideal for IoT projects. Integrating them into the Arduino IDE allows you to write, upload, and debug code effortlessly.
Step 1 Installing or Updating the Arduino IDE. The first step in installing the ESP32 Arduino core is to have the latest version of the Arduino IDE installed on your computer. If you haven't already, we recommend that you do so right away. Latest Arduino IDE. Step 2 Installing the USB-to-Serial Bridge Driver. There are numerous ESP32-based
Installing ESP32 Board in Arduino IDE. After adding the URL, you are now ready to install the ESP32 boards in Arduino IDE. Go to Tools -gt Board -gt Boards Manager. . . option. A Boards Manager window will pop-up. In the search bar on the top, type quotesp32quot and hit enter. You will get a result saying quotesp32 by Espressif Systemsquot.